
Successfully completing DIY projects at home doesn’t rely on accumulating tools or tutorials. The difference between a satisfactory job site and a shaky result often hinges on three measurable parameters: the preparation of the surface, the choice of suitable materials, and adherence to drying times. This article compares common practices to actions that truly reduce the failure rate on domestic projects.
Preparation time versus redo time: the ratio that changes everything in DIY
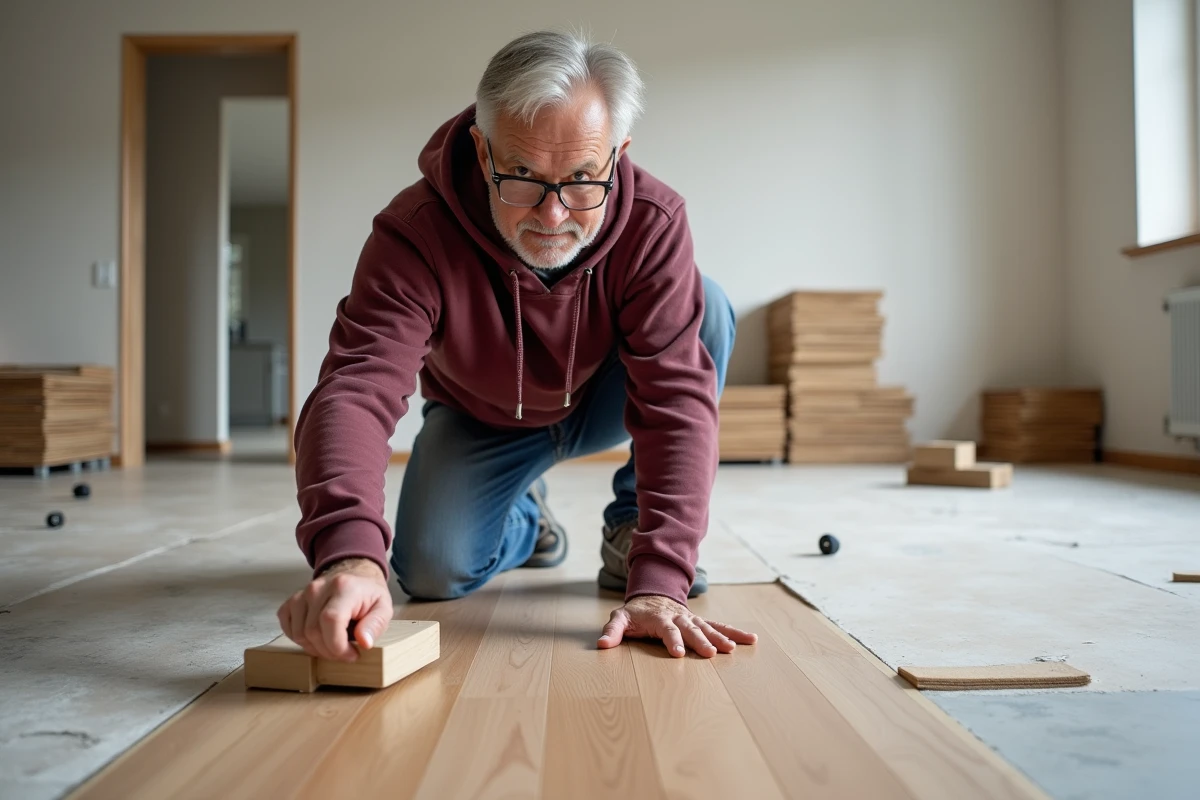
Most DIYers spend the majority of their time on execution (painting, assembly, drilling) and neglect preparation. The result: rework that doubles the total duration of the project.
See also : How to Easily Find Your Livret A Account Number: Practical Guide and Tips
| Step | Estimated average time (including preparation) | Estimated average time (without preparation) |
|---|---|---|
| Painting a room | Full day, half of which is for sanding, filling, and masking | Twice as long with touch-ups, drips, and spills |
| Installing a wall shelf | Locating the support, choosing the appropriate anchor, pre-drilling | Anchor pulled out, multiple holes to fill, repositioning |
| Assembling a wooden or MDF piece of furniture | Complete reading of the instructions, sorting and checking parts, gradual tightening | Partial disassembly to correct an inverted panel, damaged screws |
The conclusion is clear: preparation accounts for half of a job well done. Skipping this step does not save time; it wastes it.
On a painting project, applying two passes of masking tape (the first for adhesion, the second for sealing) eliminates most of the smudges. This action takes a few minutes and saves an hour of touch-up with a fine brush.
Further reading : How to find practical advice for your pet?
To find suitable supplies for each type of surface, platforms like briconet.fr allow you to target materials by usage rather than by brand, which limits unnecessary purchases.
Choice of materials and tools: costly mistakes in domestic work
MDF, melamine, solid wood, and drywall do not react the same way to glue, screws, or moisture. Using the same approach on all these materials is the most frequent source of failure in home DIY.
Wood glue on MDF: the dosage trap
MDF absorbs moisture from the glue and swells locally. A thin layer of glue is sufficient for a strong bond on MDF. Applying a generous amount, as one would on solid wood, deforms the piece irreversibly.
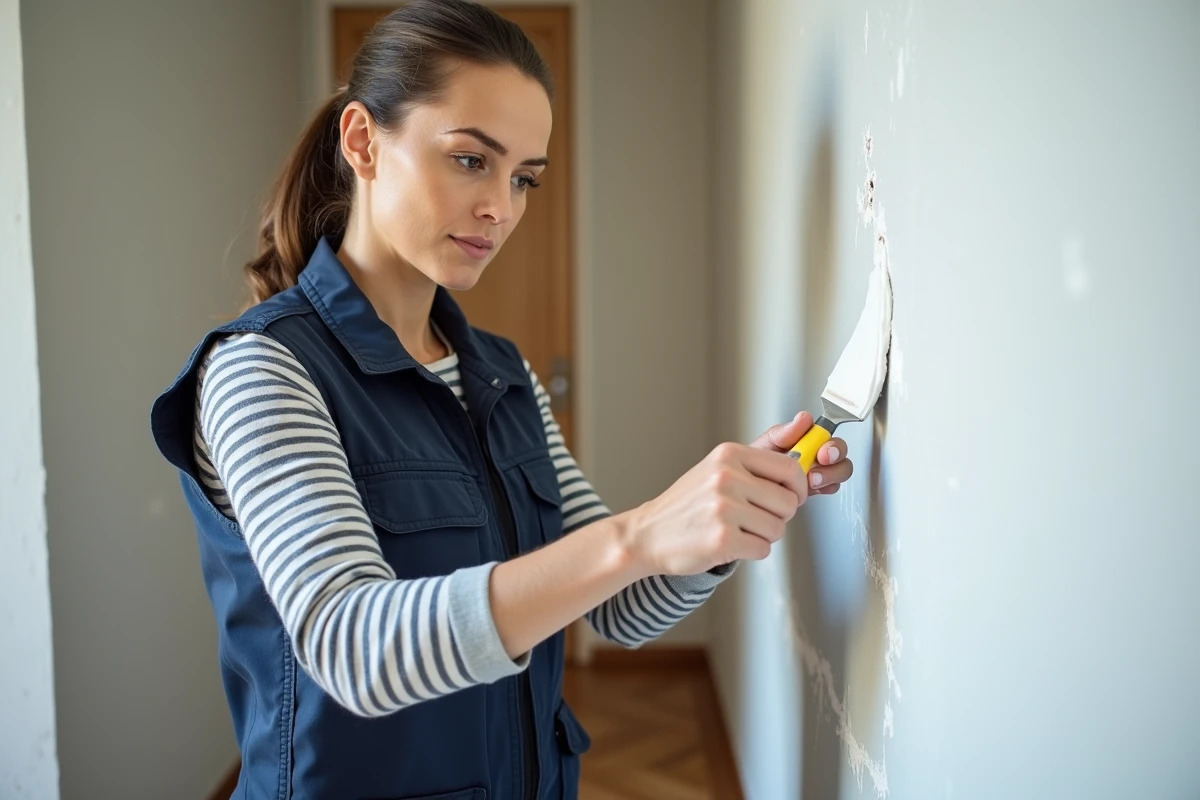
Anchors and wall type
Drilling into drywall with an anchor designed for solid brick guarantees pull-out under load. Three criteria determine the right choice:
- The nature of the support (solid, hollow, semi-hollow) can be checked by lightly tapping with the handle of a screwdriver: a hollow sound indicates a hollow partition
- The weight of the object to be fixed determines the diameter and type of anchor (expansion for heavy loads, Molly for drywall under moderate load)
- The thickness of the wall conditions the length of the anchor, a parameter often ignored that causes unstable fixings
Adapting the fixing to the support avoids the majority of pull-outs. This diagnosis takes less than a minute.
Safety and limits of DIY work without a professional
Online DIY content details the steps for execution but rarely addresses the limits that should not be crossed. Two areas concentrate the most serious risks in a home.
Electrical interventions
Changing a switch or an outlet seems simple. In reality, any intervention on the electrical circuit requires turning off the main circuit breaker, verified with a voltage tester (VAT). A basic multimeter is not always sufficient to confirm the absence of current on all conductors.
Beyond identical replacements (outlet, switch, light fixture), creating a new circuit or modifying the panel falls under the responsibility of an electrician. The risk is not only electrocution during work: faulty wiring can cause invisible overheating for months.
Work at height
A stable and well-maintained ladder is the minimum for any work above two meters. Chairs, tables, and makeshift stacks cause the majority of domestic falls related to DIY. Checking the stability of the support before each ascent, even for a thirty-second task, is a basic reflex.
Maintenance of DIY tools: the action that extends their lifespan
A hardened brush, a dull drill bit, or a misaligned level turns every project into a source of frustration. Maintaining tools does not require special skills, just consistency.
- Brushes and rollers should be cleaned immediately after use: with water for acrylic paint, with white spirit for oil-based paint, then dried upside down to preserve the shape of the bristles
- Saw blades and drill bits should be stored in a case or dedicated holder to avoid metal-to-metal contact that dulls the edges
- Levels and tape measures should be periodically checked against a known reference (a plumb door frame, a length measured with a double decimeter)
A well-maintained tool delivers precise results without extra effort. Conversely, compensating for a faulty tool with technique is a losing bet.
DIY at home relies more on the rigor of preparation and the choice of the right materials than on manual skill. A surface diagnosis before each drilling, a measured dosage of glue, a two-pass masking: these simple technical actions separate a clean result from a project that needs to be redone.